With four little ones every day is a bit chaotic. And that's okay. Because somehow I'm able to craft amid the chaos.

Thursday, December 8, 2011

My Sister's Wedding Items

 I made this necklace for my sister's wedding. I'm still debating on whether or not to make matching earrings for it. The design is from "Beaded Allure." It took quite a long time to make, and now that I'm done I realize that the dangle on the bottom is slightly off center. As everything is woven together on string it would be really difficult to change that now, so I hope it won't be too big a deal.

I am a little worried that it is going to be too long though and that it may not work with her dress.
 Having already anticipated that the first necklace may be too long, I made a backup. I found a really neat kit at the store and loved the necklace, so I bought it. I did make a few changes though. Simply switching out the flower color and seed bead color. The kit came with green, so I purchased blue flowers separately, and just used some seed beads I had on hand.

I think it turned out pretty cool, but it too may actually be too long. However, I can simply remove the white flowers from the bottom for the wedding and then replace them after word.
Finally here is a facinator that I made for her to wear in her hair. I made it to go over her birdcage veil (which I also made, but have no pictures of as it really hard to take a picture of a veil not being worn that looks good). I made them separately, so if she didn't want to wear her veil at any time, she could still wear the flowers.

Saturday, June 18, 2011

Teddy Bear.

I used the Funky Friends Factory Honey the Teddy Bear pattern to make this little guy. I gave him to my son for his 1st birthday. Because of this I opted not to give him the safety eyes, or button eyes, the pattern called for. I also didn't give him a nose, because I didn't give him eyes. I kind of like the look though.

He was super easy and came together nicely. Because of this, I can't wait to try out more Funky Friends Factory patterns.

Friday, June 17, 2011

Shaped Rag Quilts

My little boy turned one the other day. So as one of his presents I gave him a turtle shaped rag quilt. I had previously made a dinosaur shaped rag blanket for my 3 year old son for Christmas. (I was too tired to get the turtle finished in time so I put it off making it til June.)


Monday, June 13, 2011

Pillowcase Nightgowns

While surfing the pinterest boards I came across a super easy tutorial from Gingercake on how to make a nightgown from a pillow case. So a few days later when I happened to be at a thrift store, I thought I would go and look at the pillowcases. They were 99 cents so I grabbed three and came on home. 

I made the pink one first because Miss Little's favorite color is of course pink! Also it had a ruffle at the bottom. She saw me with the pillowcases and she tried to steal it for her pillow (despite the fact that her pillow is just a travel size). I promised her I would let her have it after I fixed it. So I proceeded to make up her new nightgown.
You can't see it in the picture (and honestly you can't really see it unless you're looking really closely in real life) but there are darker pink vertical stripes. Also there are darker pink flowers on the ruffle. 

In her tutorial she used a button to close the back, but she suggested also using ties if you preferred. I just happened to have pink single fold bias tape in my stash, so I chose that route for binding the neck and the back and just let it go out to be ties.


Because the first nightgown turned out to be such a hit (she wore it all the next day and wouldn't take it off) I decided to whip up a second one. I happened to have purple double fold bias tape in my stash so I chose to use the yellow pillowcase with purple flowers. It turned out cute, but I think it would be better to use pillowcases without any super noticeable stripes, because you don't have the material to play around and match up stripes.

Because this one lacked the ruffle, I thought I'd dress it up a little by adding a purple ribbon around the bottom of the bodice. As purple is Miss Little's second favorite color she liked this one too. Though, she informed me, the pink is her favorite.

Saturday, June 11, 2011

Ravi

I made this poppet for a friend. It is based on a character he played in a Table Top RPG. He had drawn a picture of his, which is what I was going off of. You can see it here if you like.  It was definitely my most involved poppet.
 I used the male modification of the poppet pattern (as I did with the Lincoln poppet) and I used the included abs plate to give him sculpted abs. Because the character is covered in rune tattoo/scar things I used fabric paint to cover his body in different designs. His hair is hand spun merino yarn spun on my drop spindle. He has two gold hoop earrings (just gold colored jump rings) and a manacle (which is felt, fabric paint, and a bit of jewelry chain). His eyes are suncatcher eyes.

Friday, June 10, 2011

Abraham Lincoln Poppet


 Last year, my brother-in-law (who teaches US History) was getting married (to a girl who also teaches US History). When I asked them who their favorite person in history was, they both agreed that it was Abraham Lincoln. So I decided to try and make him in poppet form.

His clothes were somewhat difficult, but in the end I think it turned out great. (Except for shoes. I just gave up on those.) For the clothes (not including the hat) I simply used patterns that I found on Craftster.


His hair, beard, and eyebrows, are made from fun fur. Which though messy to work with, turned out great.

Thursday, June 9, 2011

Sister Missionary Mini Poppet

 I am LDS. Awhile ago, my sister was serving a mission for our church in California. As a present, I decided to maker her a mini poppet version of her.
So here is a little sister missionary poppet complete with name tag. She is 70% of the original pattern size.

Tuesday, June 7, 2011

Poppets, My Very First

Over on Craftster an amazing lady ghilie came up with a awesome pattern and freely shared it with anyone who wanted it. It was a doll and she called the dolls poppets. I've now made several and have decided it was time to put them here on my blog. I thought I'd start with my first one.

I was trying to make something completely different, but the fabric I had bought for the skin wasn't quite right, and the joints I was using annoyed me (I was using cheap plastic teddy bear joints), so instead I made Marcelline. 
 Here she is headless and showing off her pink star tattoo, which I had to add to cover a little hole in the fabric.
 This kind of shows how creepy they can look with out hair. I let my daughter (who was 3 at the time) pick her hair. She choose navy blue. I thought that looked a little too plain, so I added streaks to the front.


Finally, here you can see that I didn't stuff her neck enough, and that her hair was too heavy.

Thursday, May 26, 2011

Son's 3rd Birthday

My son turned 3 back in January and I threw him a friend party. The theme was knights and princesses.  Unfortunately, I didn't really get any pictures taken during the party (though my mother-in-law did). I do, however, have some pictures of some of the items I made for the party.

My son was the only little knight in attendance and in order for him to look the party, I crocheted him a chainmail vest.

The little girls each had princess hats.
Everyone also had shields made from craft foam that matched their "outfits." (No pictures of that, however).
One of the games they played was tilt the ring. To participate they each needed to ride their own horses. So of course they each got one.
They are absolutely adorable and so easy to make. You just need fabric scraps, ribbon, buttons, trims (if you want) and a sock! I found a wonderful tutorial for them over at The Napping House.

The ultimate goal of the games/adventure was to get back the treasure that a dragon had stolen from the king. When the kids finally made it to the lair, this fearsome dragon awaited them.
If you wish to make your own fearsome dragon, I bought the pattern from DIY Fluffies on etsy.

When all was finished we sat down to cake that was in the shape of a dragon. Unfortunately I can't find my picture. However, it looks a lot like the one here at Waltzing Matilda (because I used her instructions to make it). Only our dragon was yellow, the little knights favorite color.

Thursday, March 24, 2011

Reversable Table Cloth


I made this table cloth a couple of years ago for a swap. The patchwork side took quite a bit of time, but I think it turned out great.

Fall Leaves Cross Stitch and Mirror


 This cross stitch was made for a lady in a swap that I participated in. She loves leaves and she loves fall colors so this seemed like it would be perfect.
I found the pattern on the DMC website for use of variegated floss. I simply switched out the colors.

The mirror was for the same swap.It is an IKEA Malma mirror that I painted with acrylics. I took a light gray and painted the mirror and then sponged on a darker gray to give it a mottled look. Then I used stencils to put on the leaves. I had meant to have a red leaf in there, but I misplaced the paint.

March 2009 Baby Shower

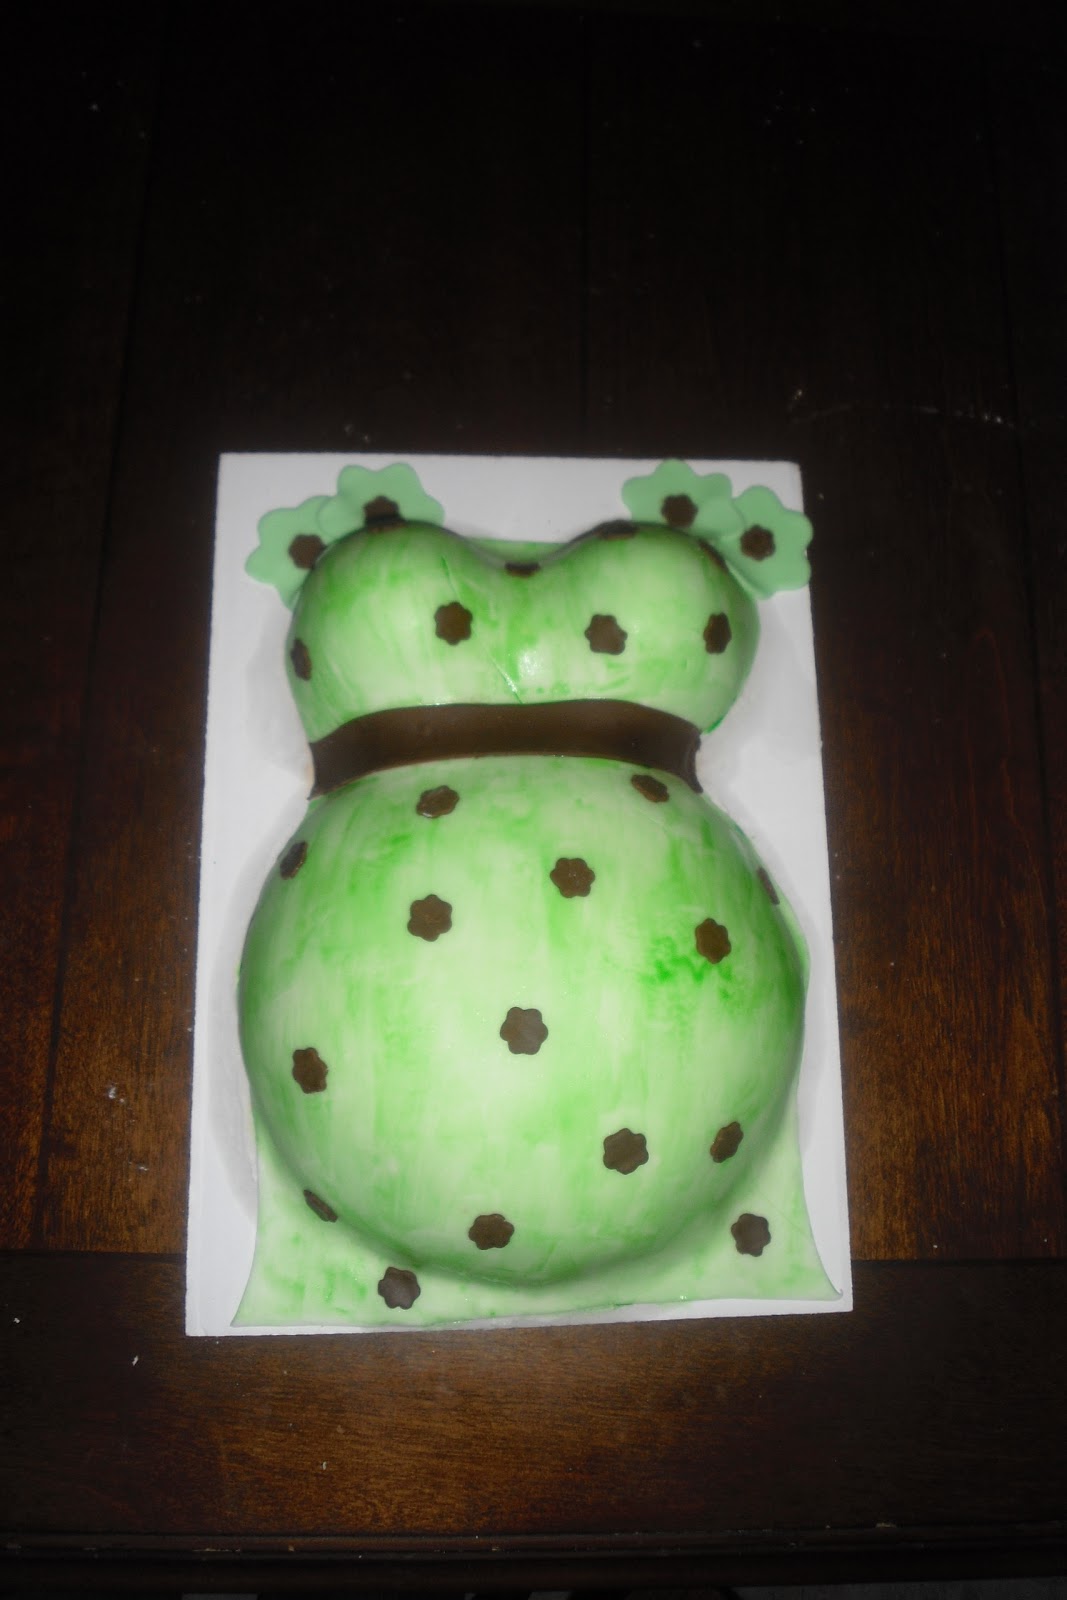
In March of 2009 I threw a baby shower for my friend. As part of her gift from me I made receiving blankets (I kept one of the blue for my son).

 I also made cloth wipes as she planned on using cloth diapers and such. Then I used them in the decorations for the shower.
 Here are the wipes made into cupcakes.
 Here are the wipes made into candies.
 The blankets became lollipops.
 I also made a baby sock flower arrangement.
 As part of the food I made chocolate covered strawberries, raspberries, and blackberries.
And ere is the table all set up.

Pregnant Belly Cake


I made this cake back in March of 2009 for a baby shower. I used a soccer ball cake for the belly and the mini wonder pan from Wilton for the chest. I rolled out white fondant and draped it over the cake, then smoothed and shaped it around the cake. I cut out a brown band of fondant to serve as the tie that many maternity shirts have. Then I took green gel food coloring, mixed it with water, and painted it on the fondant. Finally I cut out four flowers from green fondant for the sleeves and tons of small brown flowers to add embellishment.